Leaf relief art project
How about a post that's light and full of pictures after a week of lots and lots of words? Last Friday was our first scheduled 'Art Friday' where we do bigger and more involved art projects. Since it is the beginning of fall, I decided to do leaf relief pictures using the instructions from the Cassie Stephens blog. It worked out quite well.
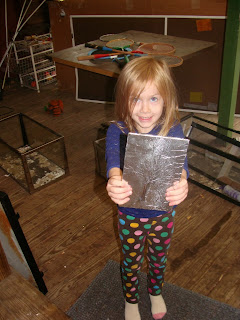
First, two gratuitous pictures of a cute little girl. This is G.
The first step of the project was to mount a leaf on a piece of mat board using spray adhesive and then mount a piece of foil on top of that. Once the foil was on, the children then used their fingers to smooth and press the foil and rub over the leaf so the outline appeared. (Really, if you want to try this, don't use my description, but go to the website where there are real instructions.) Here's H. and L. (yes, she dressed herself) holding their foil-covered leaves waiting for the black spray paint, which was the next step.
Once the foil is ready to go, I sprayed them with matte black spray paint and let them dry.
H. didn't care for the smell of the paint.
After the paint dried, I spread a paper tablecloth on the floor and the children then used a little bit of steel wool to lightly rub away some of the paint to let the shiny foil outline of the leaf show through. I thought the paper tablecloth was brilliant because I just rolled up the cloth, containing the little bits of steel wool and paint scrapings, and threw it away.
We had some H-S children here as well, if there seems to be more children than usual.
D.
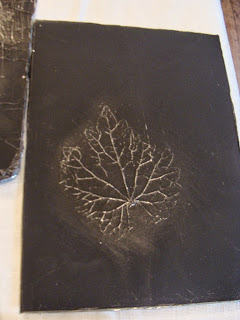
And the final result. I still want to have them all paint larger pieces of mat board so we can mount them.
Some people chose to scrape away more paint, and others (this is P.'s) decided just to do only the leaf, leaving the rest black.
A successful project... and another one where all ages and abilities were able to create something they liked.


Comments